
Explosion Card Box!!


(Sorry for the blurry pictures, they were taken with my iPhone.)

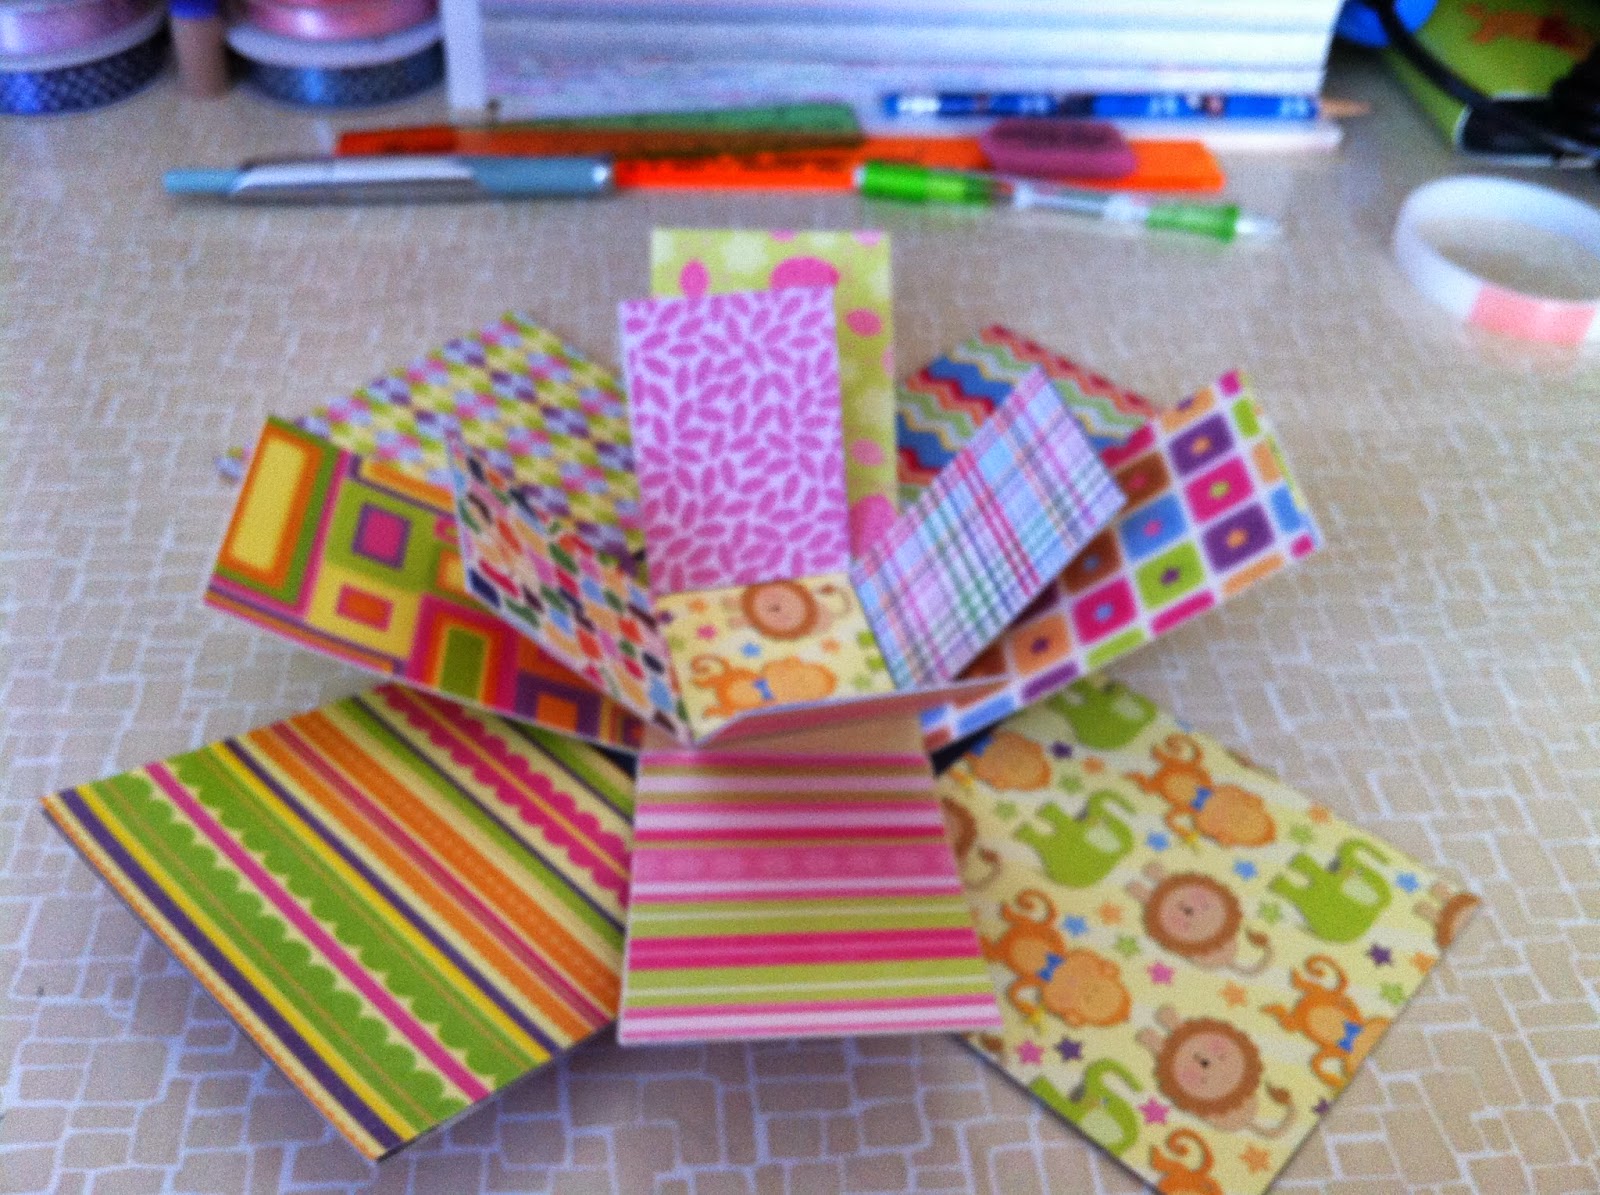
I had a lot of fun making this one.  I still haven't decided what I'm going to do with it though lol.  I used DCWV's Neutral 12x12 paper pack to make the bases and then decorated them with paper from DCWV's Nana's Kids matstack and their Animal Crackers matstack.  Click here for the link to the video with all the dimensions to make this project.

I used my ATG gun to attach each "box" to the bigger one and also to attach the patterned paper.  On the lid I used my croc-a-dile to punch wholes in it and attached a piece of grosgrain ribbon with star shaped brads to simulate a handle.

There are lots of YouTube videos on different ways to make these and decorate them.  The possibilities are endless!!!!

Happy Crafting!!!!

Comments

Popular posts from this blog

Danger ATC

This is an Artist Trading Card (ATC) that I created for the Diemond Dies' Design Team Call.  The background is a couple different mixed media techniques, mod podging tissue paper with lots of wrinkles in it and then stamping on top of it.  Then I used some Shimmerz Texturez to add even more texture and then some gray gesso is added in there too. I used some corrugated cardboard to add some texture and then I used the Tim Holtz Tattered Banners Die and Bat & Skull dies for my embellishments.   On the bat I covered it with haematite Inka Gold, buffed it and then adhered it with 3-D Dots.  The skull I gessoed, colored it with my Faber Castell Big Brush Pens and then used some Shimmerz Texturez to put the "cracks" on it. This is one of my favorite ATCs that I have ever made.  I hope you enjoyed it too!! Happy Crafting!!!!  

Time to Create a Unique View

This is an altered canvas that I created for Diemond Dies' Design Team call.  It was my first big mixed media project and I absolutely love how it turned out!!!! I got lots of different close up pics. I just love that clock piece in the corner! This view finder die is a must have, it was so much fun to use!  I cut it in black chipboard and then again in chipboard covered in white paper.  I then took the squares from the black one that I cut out and put them in the white one and it actually looks like a view finder disc!! Don't forget the sides of your canvases! So pretty! The arrow is pointing to the way to read the words for the title of the canvas, completely unintentional. Love those butterflies.  I got these in a swap but I know you can find them on Etsy! Well I hope you enjoyed my pics, if you have any questions please just ask.  As you will see in future posts I did end up making the team.

Frisky Melon!!

 I made this card for the Fantabulous Cricut Challenge Blog's Challenge Me Monday Contest!!  Yay!!  I started with a piece of pink cardstock cut at 5 1/2"x 8 1/2" and folded it in half for the base of my card.  This was from one of The Paper Company's value packs.  Then I cut a piece of black cardstock, also from The Paper Company, at 5 1/4"x 4" and used it as my first layer.  I attached this using my ATG gun. For my second layer I cut a piece of paper from the Colorbok Pattern Pack at 5"x 3 3/4".  I then wrapped a piece of grosgrain ribbon around it and secured it in the back using regular tape.  Then I attached the whole thing using my ATG gun.   I cut the watermelon at 4" using the "Stretch Your Imagination" cartridge with my Cricut Expression.  I used a black, pink and green paper, all were from The Paper Company value packs.  I attached it to the card using 3D-Dots. Then to finish off this card I added a My Pink St